Ready to save time deploying your content to AWS? We have a solution for you. Bitovi has created a new GitHub action that uploads your repo content into an S3 bucket and transforms it into a full-blown website. With just one step, our GitHub action sets up DNS, certificates, and even a CDN to get your website up and running in record time.
For this post, you’ll use the GitHub Action: bitovi/github-actions-deploy-static-site-to-aws. The github-actions-deploy-static-site-to-aws action works with any static site. We default to index.html, you can adjust that to any file name you need.
How the Deploy Static Site GitHub Action Works
When we say it’s a one-step process, we really mean it. All you need to do is add a GitHub Action workflow to deploy your fully functional static site. That’s it! 🥳
Prerequisites
Nice to have
A domain in Route53 – Setting this up will give the final deployment a prettier URL. (Check the available inputs to set this up. It’s as simple as adding aws_r53_domain_name and aws_r53_sub_domain_name to your action)
Add a GitHub Action Workflow
Create the file .github/workflows/deploy-static-site.yaml
Add the content below
name: Deploy
on:
push:
branches: [ main ]
permissions:
contents: read
jobs:
Deploy-static-site:
runs-on: ubuntu-latest
environment: # This publishes your URL on your repo environment
name: ${{ github.ref_name }}
url: ${{ steps.deploy-site.outputs.public_url }}
steps:
– id: deploy-site
uses: bitovi/github-actions-deploy-static-site-to-aws@v0.2.0
with:
# Set this to your AWS Keys
aws_access_key_id: ${{ secrets.AWS_ACCESS_KEY_ID }}
aws_secret_access_key: ${{ secrets.AWS_SECRET_ACCESS_KEY }}
# Will apply result of planned code
tf_action: ‘apply’
# If destroying, will remove the bucket
tf_state_bucket_destroy: true
# Takes more time to deploy and not needed for example
aws_site_cdn_enabled: false
# You should own and have this domain available in R53
aws_r53_domain_name: bitovi-sandbox.com
aws_r53_sub_domain_name: static-site
# Will create and validate a cert for this sub-domain
aws_r53_create_sub_cert: true
Update the inputs to suit your requirements. Please review all available options in the repository’s documentation, as it should address your needs. If there is anything overlooked or missing, feel free to open an issue.
As soon as you push code to your main branch, it will get pushed into the bucket, updated and published.
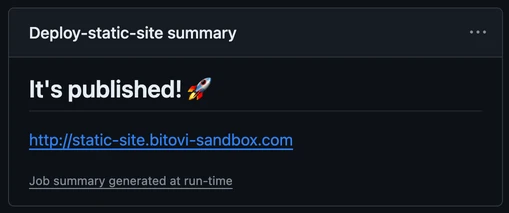
From there, you can set up a custom domain, a certificate or a CDN. You’ll get your URL in your workflow run summary.

Clean Up
If you wish to destroy all
Source link


